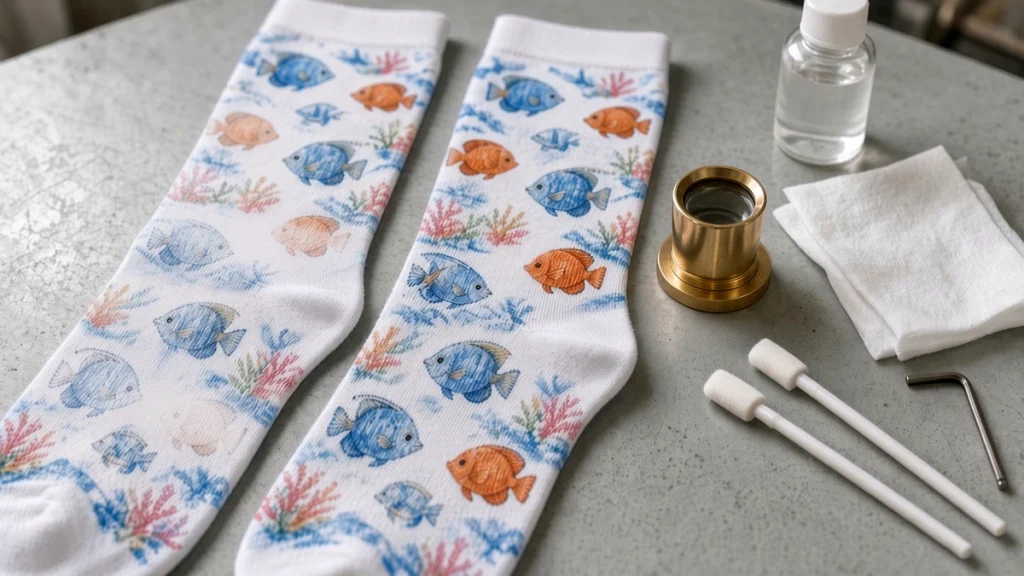
Every print room runs into defects sooner or later. The key is to identify the cause quickly and fix it without wasting ink, blanks or hours of production time. This guide lists the most common defects seen on a socks printer, what usually causes them and what to check first. It is general guidance; always follow your machine's manual and contact your supplier for model-specific procedures.
A diagnostic mindset
Before changing anything, ask three questions:
- Did the defect appear suddenly or gradually?
- Does it affect every sock or only some?
- Does it affect one color or all colors?
Sudden, one-color defects usually point to a nozzle or ink supply issue. Gradual, all-color defects often point to environment, calibration or fixation.
Defect 1: Thin white or light lines around the sock
Likely causes: missing or deflected nozzles, air in the ink line, dirty capping or wiper.
Check: run a nozzle check. If lines are missing, perform a light cleaning and check the capping station and wiper. Inspect dampers and tubes for air. See our printhead care guide.
Defect 2: Regular banding even with a perfect nozzle check
Likely causes: feed or rotation calibration, encoder strip contamination, inconsistent head height.
Check: run calibration routines, clean the encoder strip carefully, verify roller condition.
Defect 3: Visible join where the design wraps around
Likely causes: artwork width does not match the roller circumference, incorrect template, or sock loaded with twist.
Check: confirm the template for that roller size and retrain loading. Our article on artwork preparation covers template widths.
Defect 4: Distorted or slanted designs
Likely causes: sock loaded unevenly, knit lines not straight, sock size mismatched to roller.
Check: loading technique, roller choice and blank consistency.
Defect 5: White showing through when the sock is stretched
Likely causes: roller too large, low ink coverage, fabric with low polyester content for disperse ink.
Check: roller size, ink limits and blank composition. Choosing blank socks for digital printing helps here.
Defect 6: Blurry edges or ink spread
Likely causes: too much ink, incorrect profile, fabric that wicks excessively, cotton pretreatment issues.
Check: lower ink limits, confirm the correct profile and, for cotton, review pretreatment consistency.
Defect 7: Dull or weak colors
Likely causes: under-fixation, wrong profile, ink nearing expiry, incorrect oven or steam settings.
Check: oven temperature and dwell time, steamer cycle, profile selection. Remember disperse prints look dull before fixation. Our sock oven guide discusses fixation.
Defect 8: Bleeding in the first wash
Likely causes: incomplete fixation, cotton not washed properly after steaming, overloaded washer.
Check: fixation conditions and wash procedure. For cotton, follow the full wash → spin → dry route with appropriately sized equipment such as the CO-XPG30 washer.
Defect 9: Color differs from last batch
Likely causes: different ink batch, changed blanks, room conditions, oven drift, missing nozzles.
Check: records of ink and blank batches, nozzle check, oven temperature verification.
Defect 10: Ink drops or smudges
Likely causes: dirty head plate, lint accumulation, ink buildup on the carriage, damaged capping.
Check: clean the head area as instructed, inspect the capping station and keep the room free of lint.
When to stop and call support
- Repeated cleanings do not restore nozzles.
- Error messages refer to electronics or the head cable.
- Unusual noises or movement.
- Ink leaks.
At that point, gather information: photos of the defect, nozzle check images, recent maintenance notes and settings. Good information speeds up remote diagnosis.
Prevention is cheaper than repair
Most defects trace back to skipped maintenance, inconsistent loading or uncontrolled environment. A disciplined maintenance routine prevents the majority of issues.
A troubleshooting routine
When a defect appears, a calm, ordered approach saves time:
- Stop and keep the sample. Note the design, blank, settings and time.
- Print a nozzle check. Many defects trace back to printhead condition.
- Check the sock and roller. Is the sock the right size for the roller, evenly stretched and clean?
- Check the file. Resolution, wrap width and color mode can all cause defects.
- Check finishing. Some problems, such as dull colors, appear only after fixation.
- Change one thing at a time and print again.
Keeping a defect log
Record each defect, its cause and the fix. Over time this log becomes your own troubleshooting guide and helps train new operators. Share recurring issues with your supplier; they may recognize the pattern quickly.
When to call support
Contact support if you see repeated missing nozzles after cleaning, error messages you do not understand, unusual noises, or ink leaks. Photos and short videos help. Our printhead care guide, maintenance routine and the support page are good starting points.
Prevention
Most defects become rarer with good habits: daily nozzle checks, correct roller sizes, clean rollers and consistent fixation. See 360 sock printer rollers for sizing.
Conclusion
Diagnose before you act, start with the simplest checks and keep good records. Most socks printer defects have straightforward causes. For further help, visit our support center, browse the FAQs, or contact our technical team.
Leave A Comment