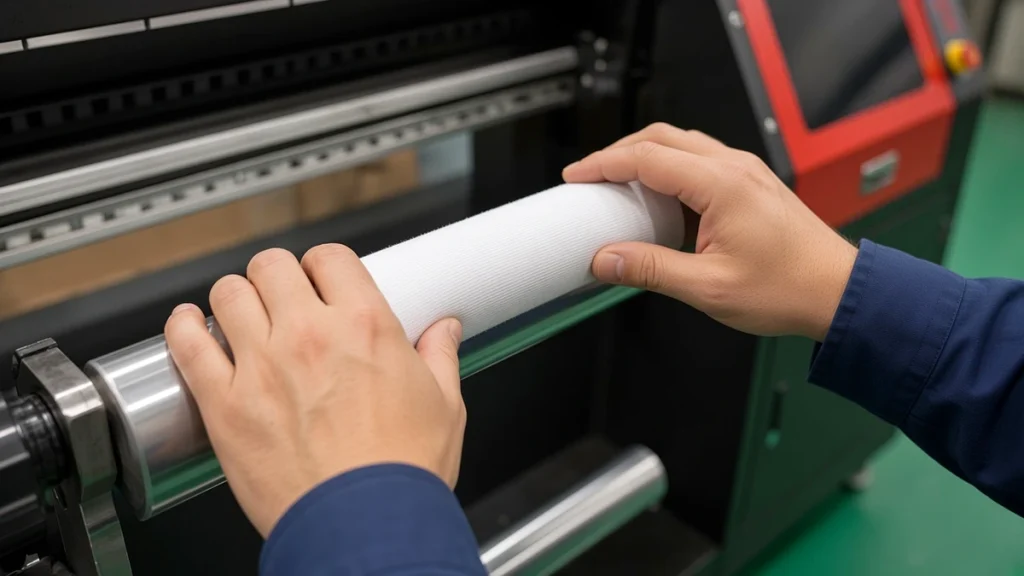
A socks printer can only perform as well as the people running it. Good operators load socks consistently, spot problems early and keep the machine healthy. Poorly trained operators cause reprints, clogged heads and frustrated customers. This four-week onboarding plan gives new staff a solid foundation. Adapt it to your machine and supplier's instructions.
Before day one
- Prepare a clean, organized workstation.
- Print laminated quick-reference cards for start-up, shutdown and nozzle checks.
- Assign an experienced mentor.
- Gather the supplier's manuals and the user guide.
Week 1: Safety, basics and loading
Goals: understand the machine, work safely and load socks correctly.
- Safety: moving parts, heat from ovens, handling inks and chemicals, electrical precautions.
- Machine tour: rollers, carriage, printheads, ink system, capping station, controls.
- Start-up and shutdown procedures.
- Loading practice: choosing the correct roller, pulling socks straight, aligning knit lines, avoiding twist. Practice on test socks until loading is consistent.
- Observing printing and removing printed socks without smudging.
Loading deserves extra time. Many defects, from distorted designs to visible wraparound joins, come from loading errors.
Week 2: Printing and the RIP
Goals: run jobs independently from the queue.
- Opening jobs in the RIP and selecting the correct profile and print mode.
- Understanding sock templates and sizes.
- Grouping jobs by size to reduce roller changes.
- Checking the first print of each job before continuing.
- Recording job details in the production log.
Our article on RIP software for a socks printer is good background reading.
Week 3: Maintenance and color checks
Goals: keep the machine healthy and recognize quality issues.
- Daily nozzle checks and light cleaning.
- Cleaning wipers and capping stations with cleaning sticks and approved liquid.
- Topping up ink without introducing air.
- Recognizing banding, missing lines and color shifts.
- Judging color after fixation under consistent lighting.
Use our maintenance routine as a checklist.
Week 4: Finishing and troubleshooting
Goals: understand the whole line and solve common problems.
- Polyester fixation: oven settings, loading the chain or tray, checking results.
- Cotton route basics: pretreatment, steaming or low-temperature fixation, washing, spin drying and tumble drying.
- Inspection and packing standards.
- Troubleshooting common defects using our troubleshooting guide.
- When and how to escalate to a supervisor or supplier.
Assessment
At the end of week four, ask the operator to complete a full shift with the mentor observing:
- Start-up and nozzle check.
- Run mixed jobs with correct profiles and rollers.
- Perform end-of-day maintenance.
- Identify a deliberately introduced issue, such as the wrong profile.
Ongoing development
Training does not end after a month. Schedule:
- Monthly refreshers on maintenance.
- Cross-training on finishing equipment.
- Updates whenever new products, inks or software versions are introduced.
- Short team reviews of recurring defects.
Building a training library
Record short videos of key tasks on your own machine: loading each sock size, cleaning the capping station, changing rollers. New staff can watch them anytime. Supplier resources such as the video center supplement your own material.
The payoff
Well-trained operators produce fewer reprints, extend printhead life and keep output steady. They also spot problems before customers do. The investment of a few weeks pays back quickly in lower waste and more reliable delivery.
Week-by-week outline
A structured plan helps new operators gain confidence without risking production.
Week one: safety and basics
Cover safe handling of inks and chemicals, emergency stops, daily start-up and shutdown, and nozzle checks. Let trainees load and unload practice socks under supervision.
Week two: printing and files
Introduce the RIP software, presets and file checks. Trainees print real designs on test blanks and learn to spot common defects. Our artwork preparation guide is useful here.
Week three: finishing and quality
Move to fixation and, where relevant, washing and drying. Teach quality checks: color, alignment at the seam, missed areas and stains.
Week four: supervised production
Trainees run real orders with a senior operator checking results. By the end they should complete a full shift independently.
Making training stick
- Write short checklists for each station.
- Use photos of good and bad results.
- Record short videos of key tasks.
- Review mistakes openly and without blame.
Ongoing learning
Schedule refresher sessions when you add new products, inks or equipment. The user guide and video center pages are good training resources, and our troubleshooting guide helps operators solve problems on their own.
Assessing readiness
Before an operator works alone, ask them to complete a short practical check: start the socks printer, run a nozzle check, load and print a mixed batch, identify a deliberately flawed sample and shut down correctly. Signing off on each skill gives both trainer and trainee confidence, and the same checklist can be reused for every new hire.
Conclusion
Structure turns a new hire into a confident operator. Focus first on safety and loading, then printing, maintenance and finishing, and keep training going after the first month. For machine-specific training options, visit our support center or contact our team.
Leave A Comment