1
Printing
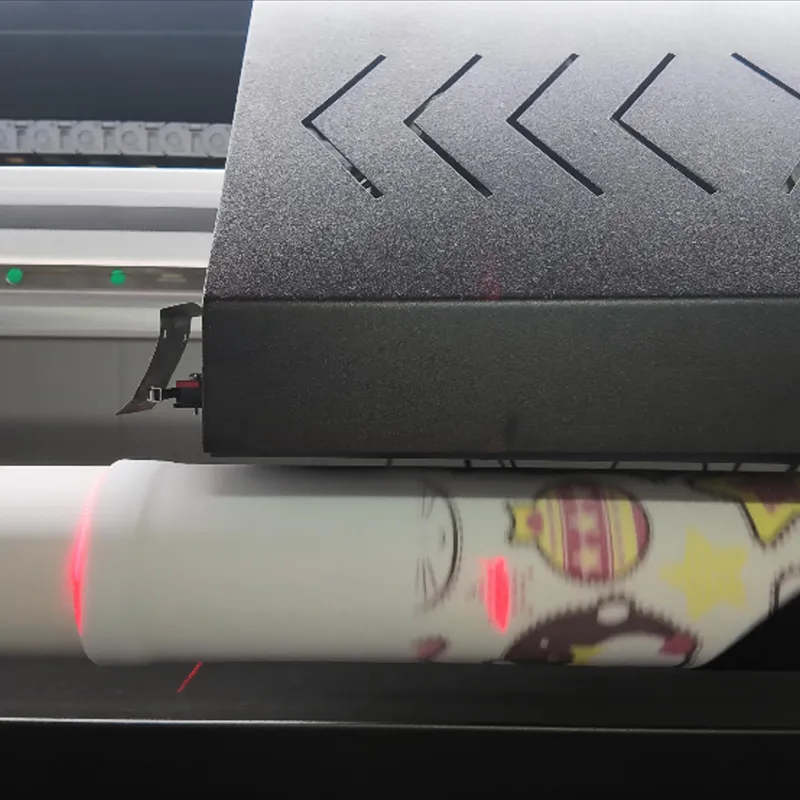
Print the sublimation ink onto the polyester socks.
See how different ink types work on their matching sock materials.
Each material requires a different pre-treatment and post-printing process to fix the ink properly. Select an ink type to see its matching material and step-by-step workflow.
Print the sublimation ink onto the polyester socks.
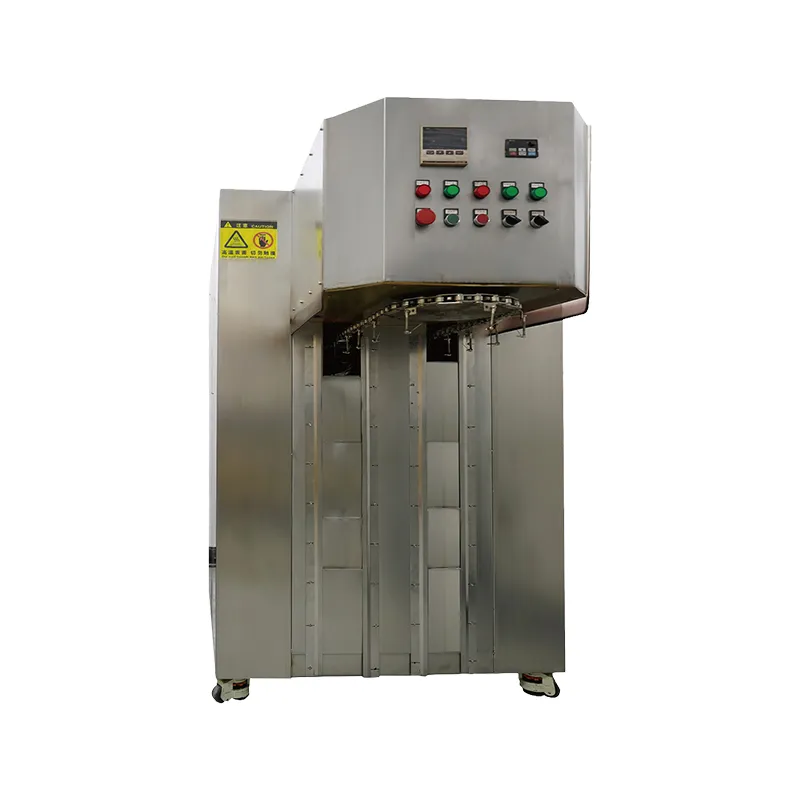
Dry the printed socks in a heating oven to sublimate the ink into the fiber.
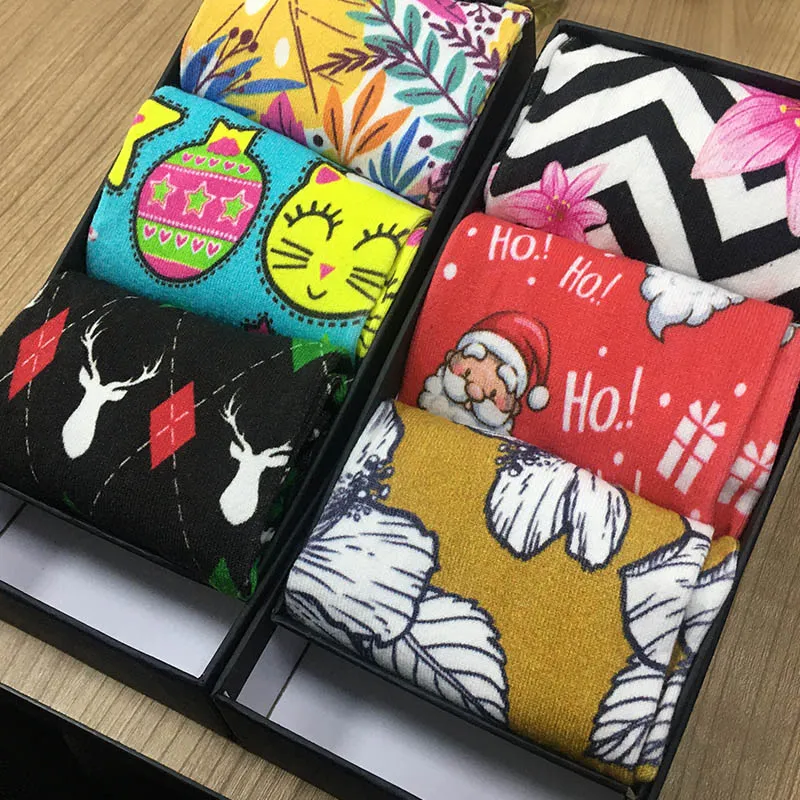
The process is complete; pack the finished socks for delivery.
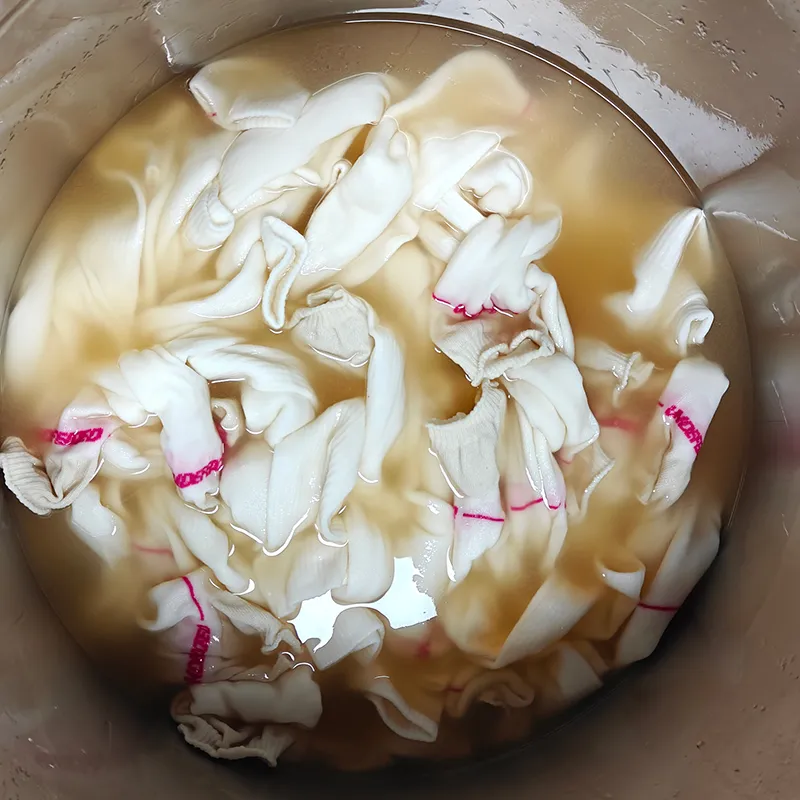
Soak the cotton socks in the pretreatment liquor so the fiber can absorb the reactive ink evenly.
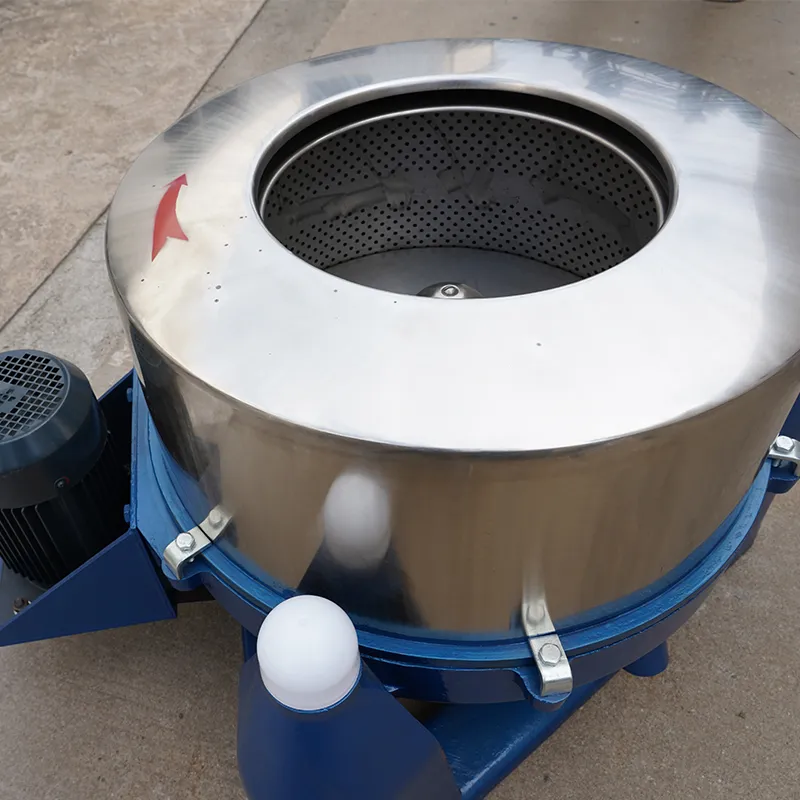
Spin-dry the soaked socks to remove excess liquor and keep the fabric uniformly damp.
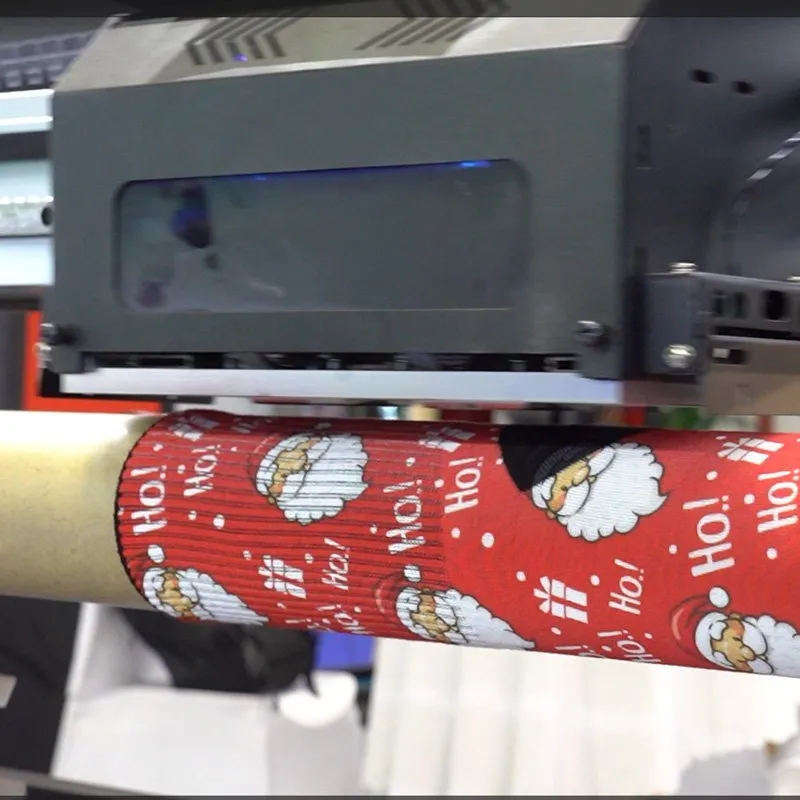
Print the design onto the cotton socks with reactive ink on the sock printer.
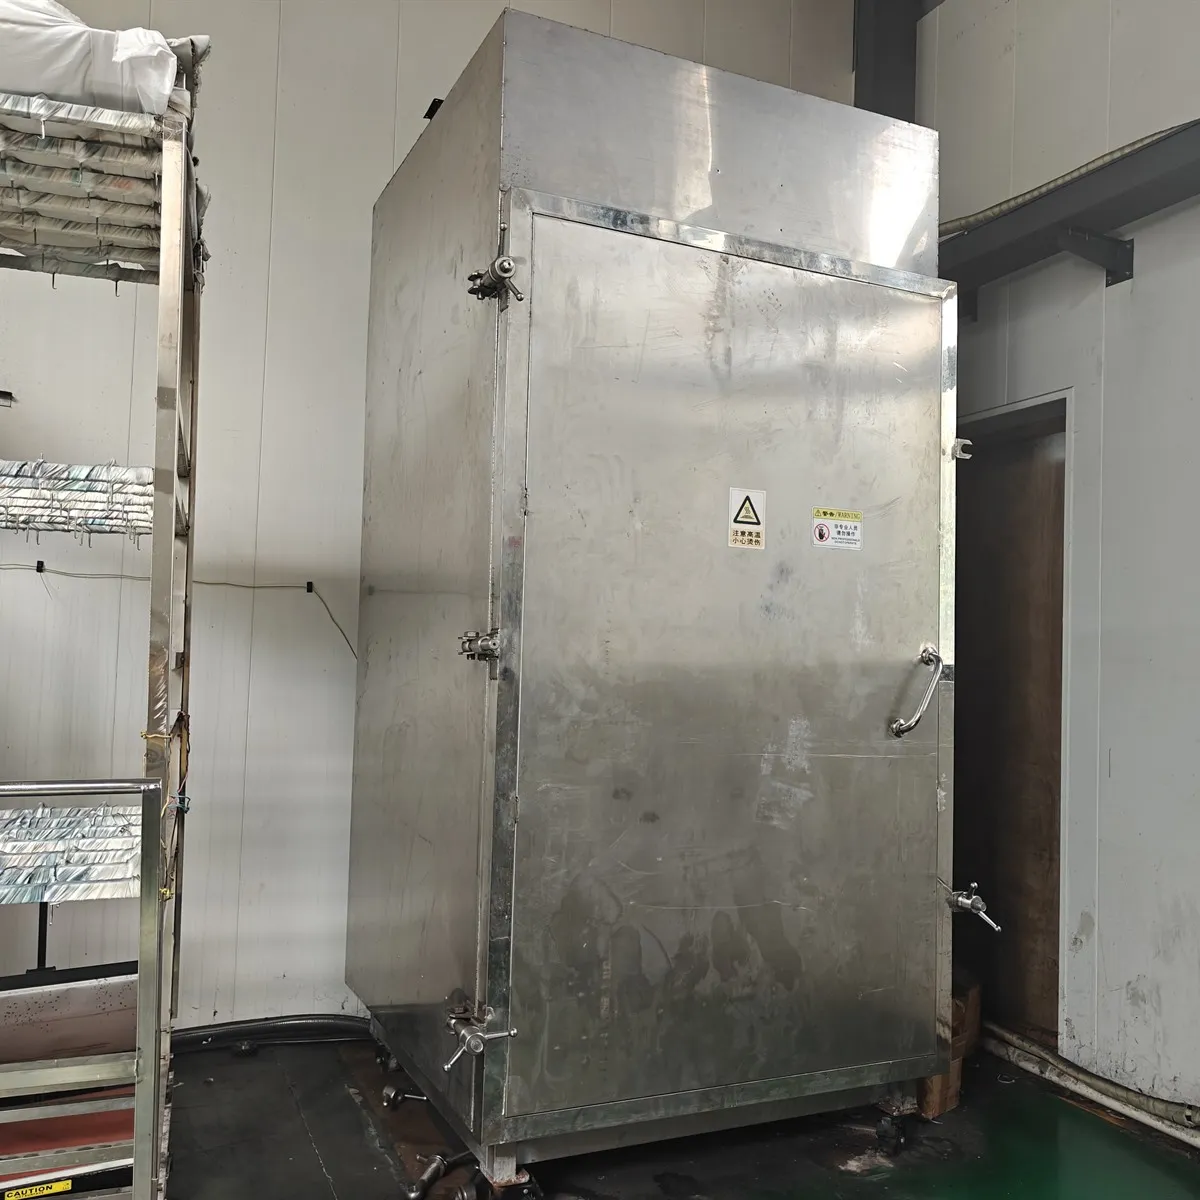
Dry the printed socks to remove surface moisture before steaming.
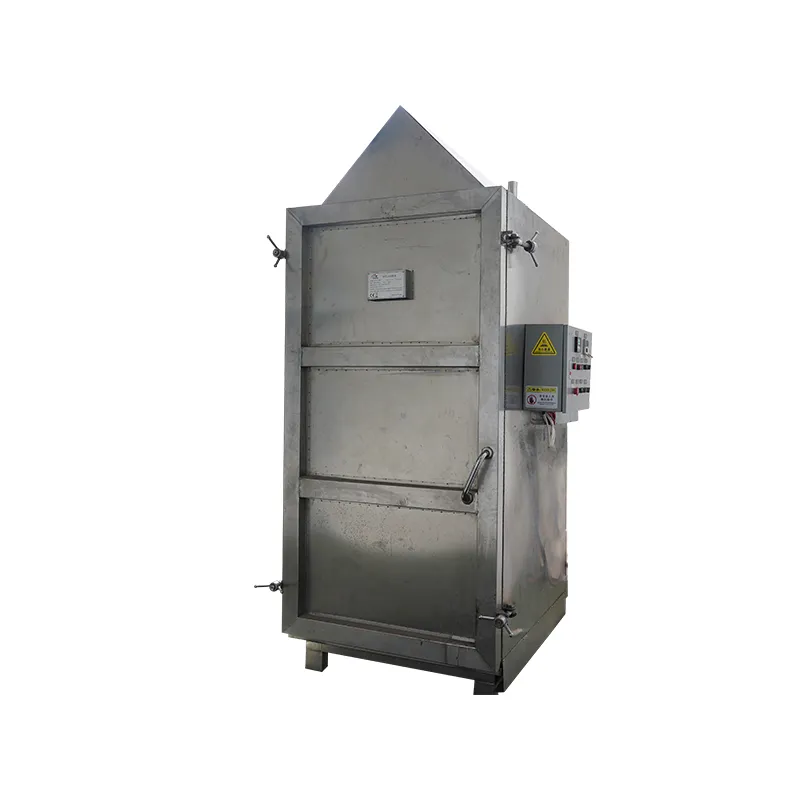
Steam the socks so the reactive dye reacts with and bonds to the cotton fiber.
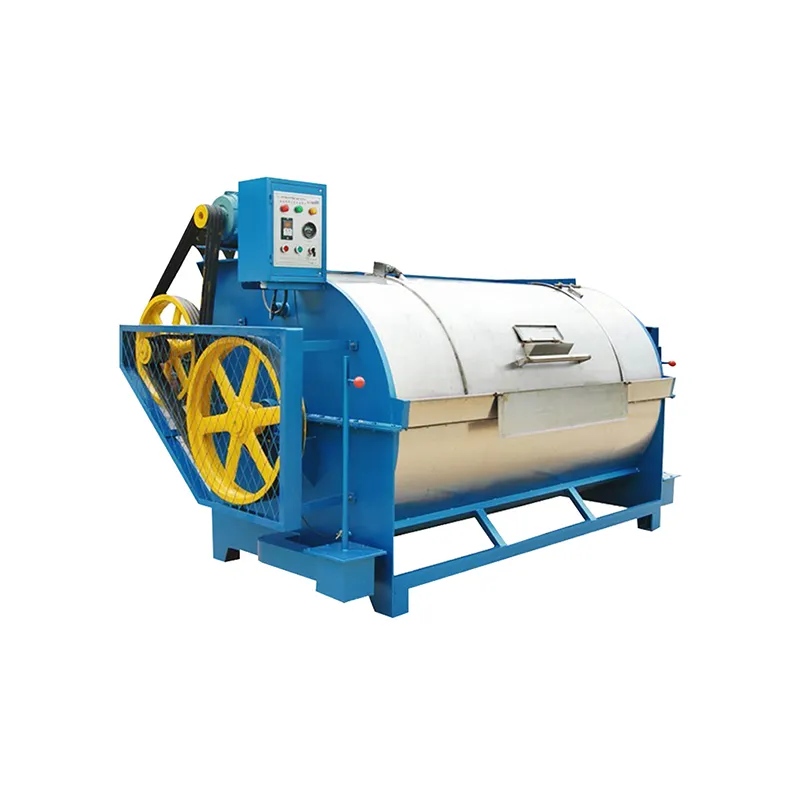
Wash off unfixed dye and residual chemicals from the socks.
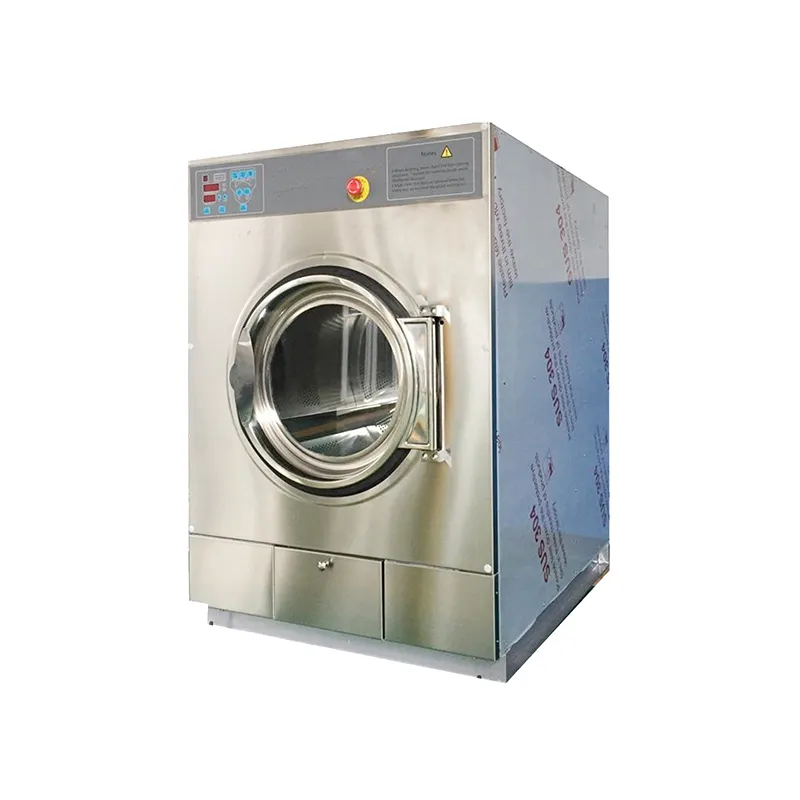
Dry the socks again after washing.
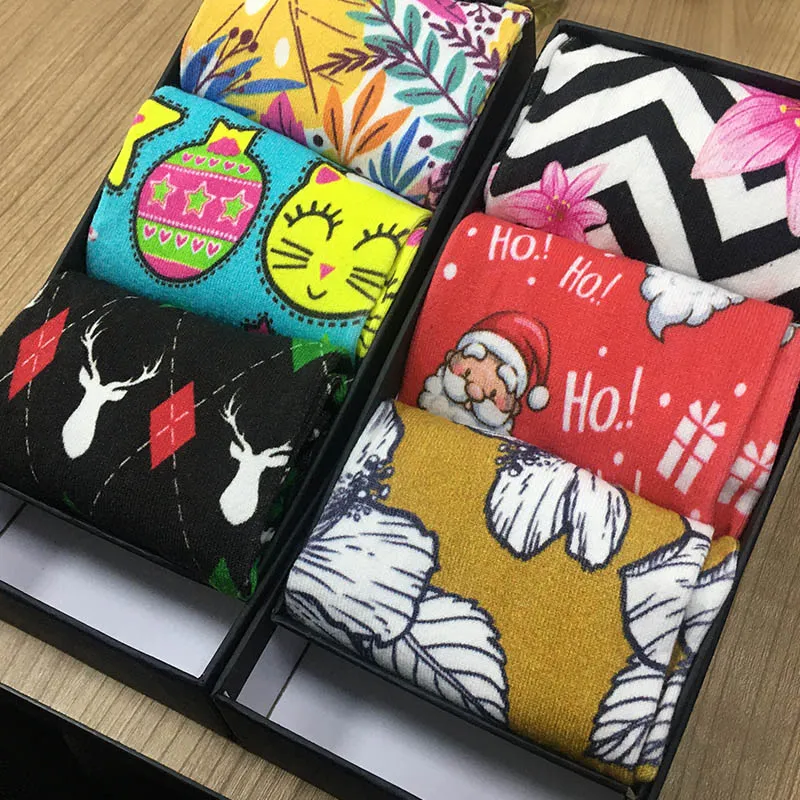
The process is complete; pack the finished cotton socks for delivery.
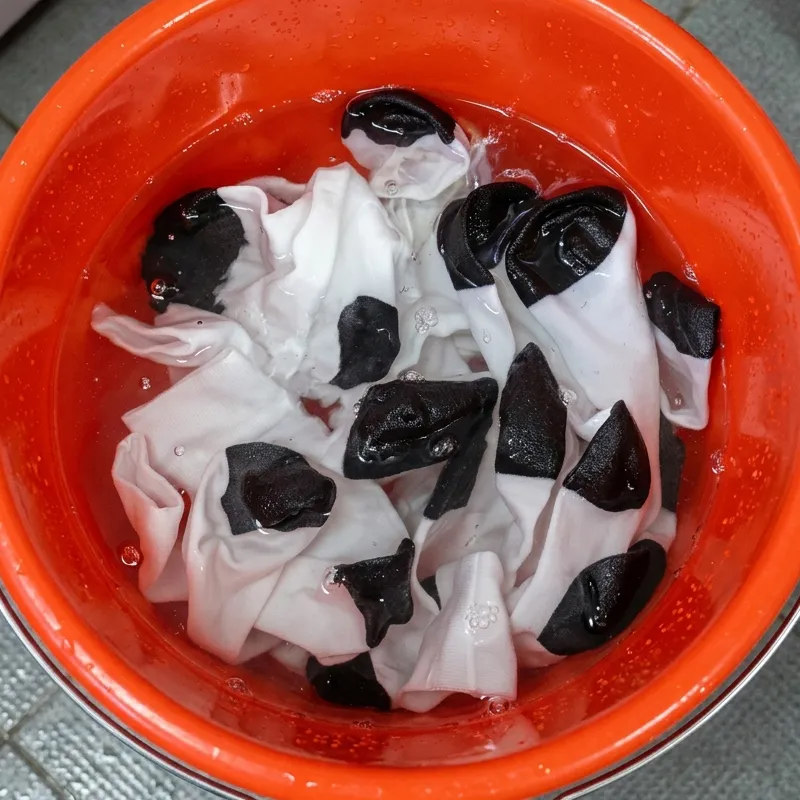
Pre-treat the cotton or cotton-blend socks by soaking to improve pigment ink adhesion to the fiber surface.
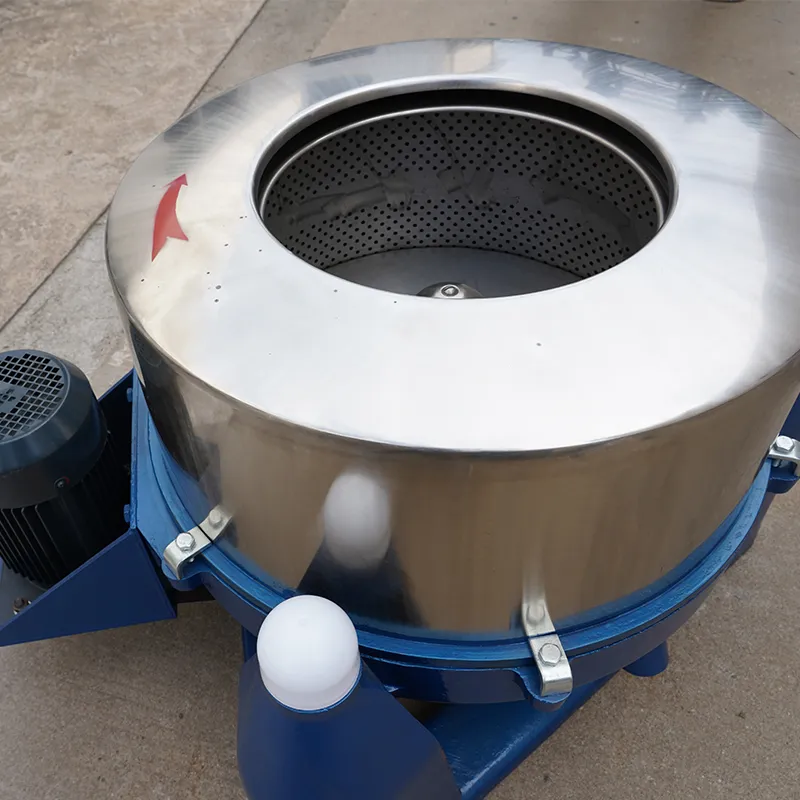
Spin-dry the soaked socks to remove excess liquor and keep the fabric uniformly damp.
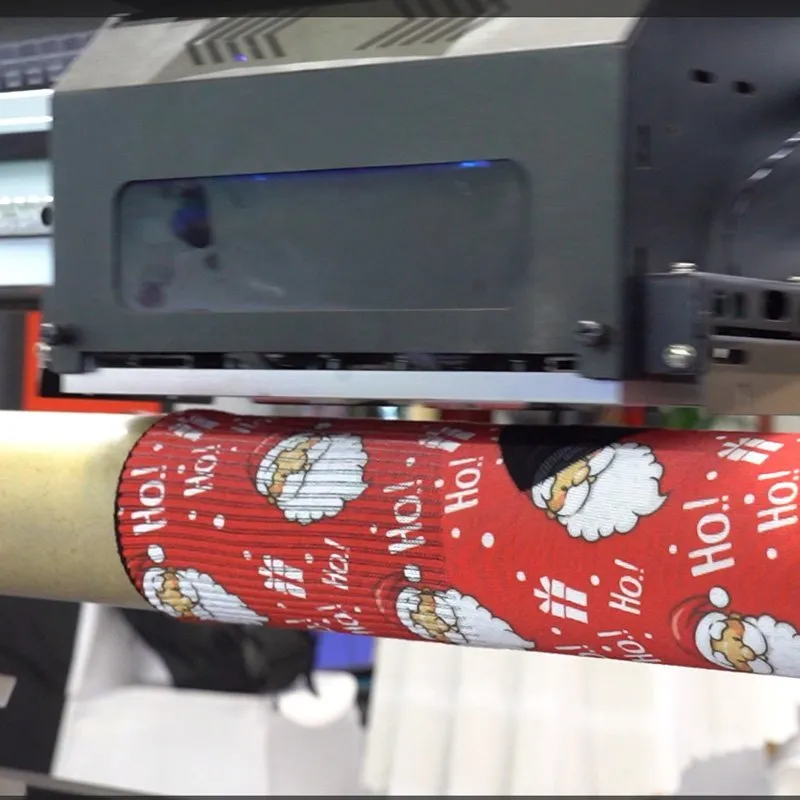
Print with pigment ink onto the cotton or cotton-blend socks.
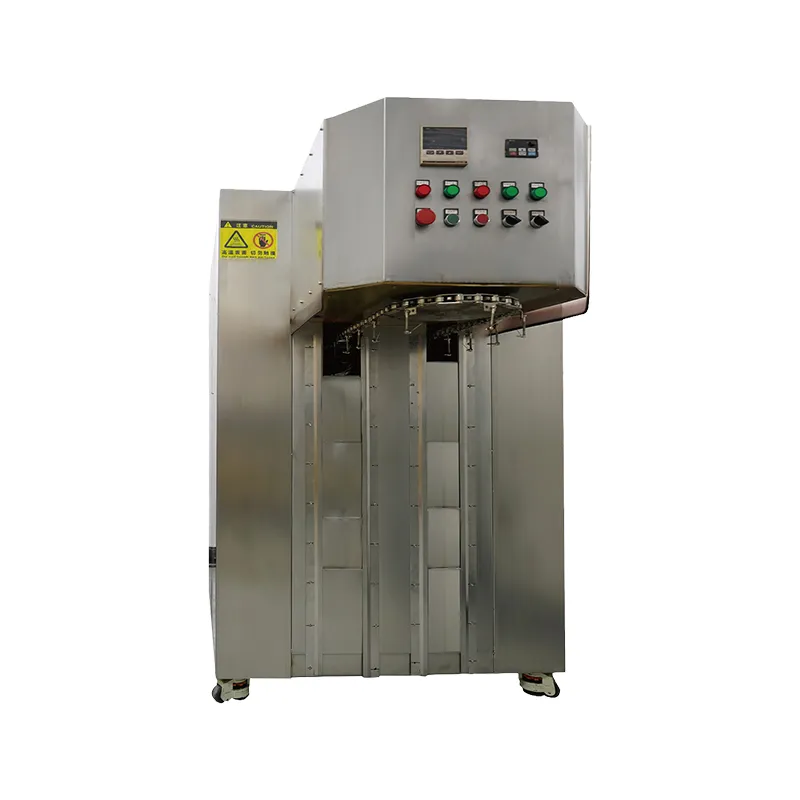
Dry the printed socks to remove moisture.
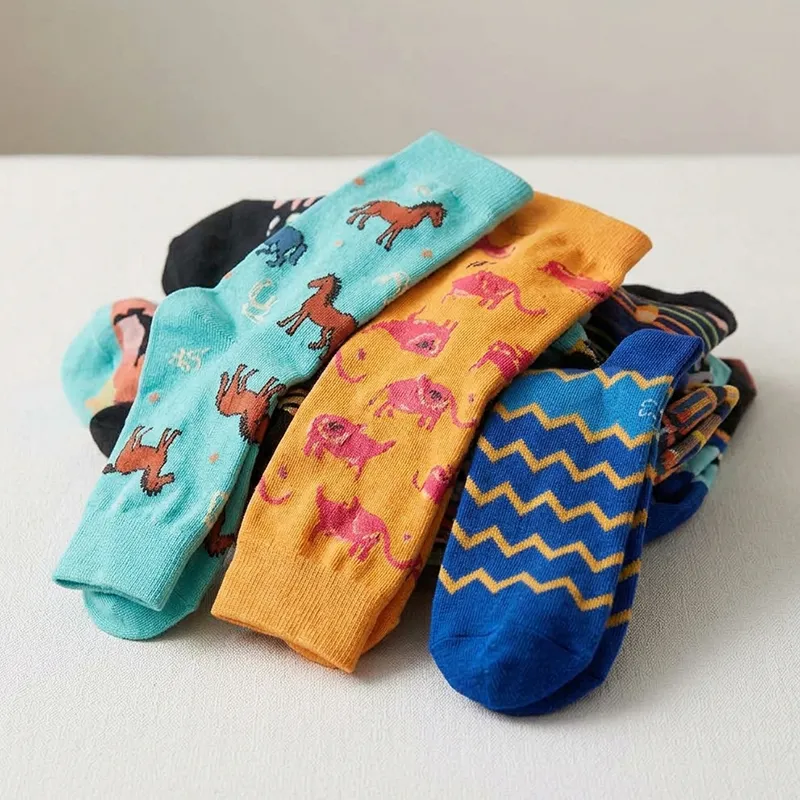
When required, cure the socks to fix the pigment firmly onto the fiber surface; this step is optional.
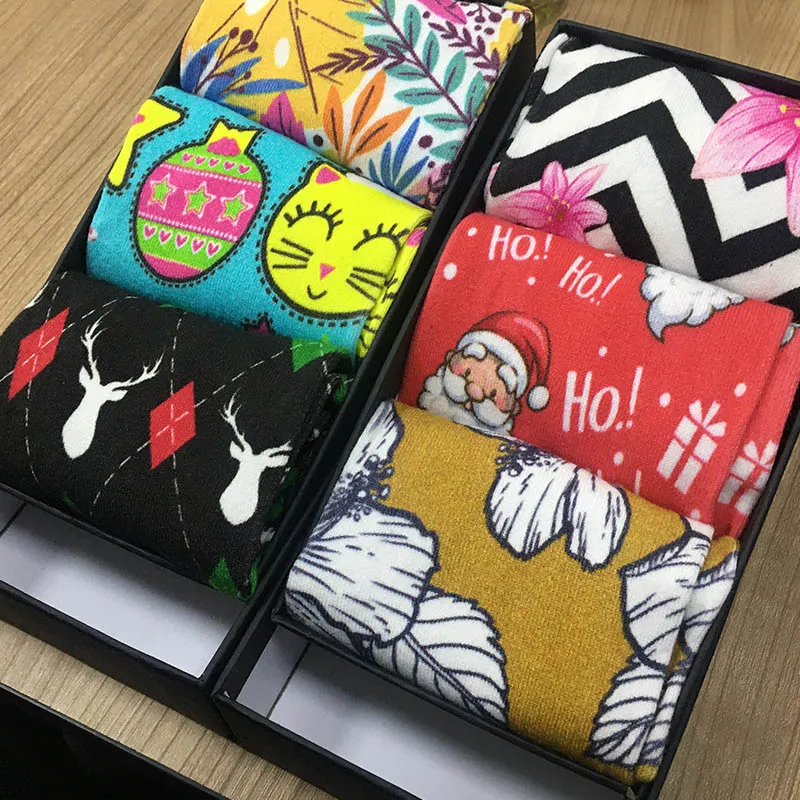
The process is complete; pack the finished socks for delivery.
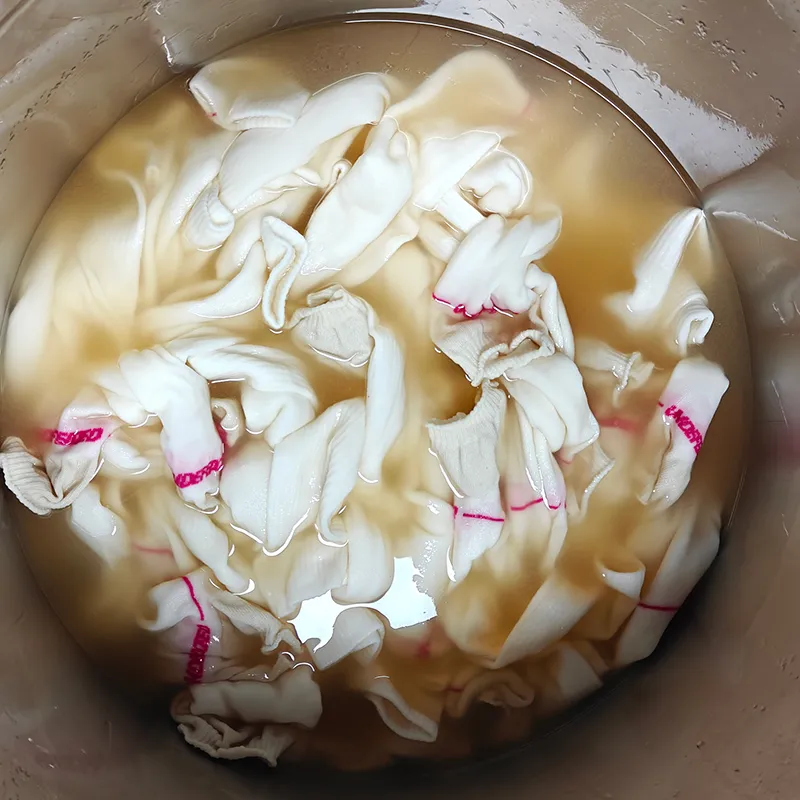
Pre-treat the nylon socks by soaking to prepare the fiber for ink adhesion.
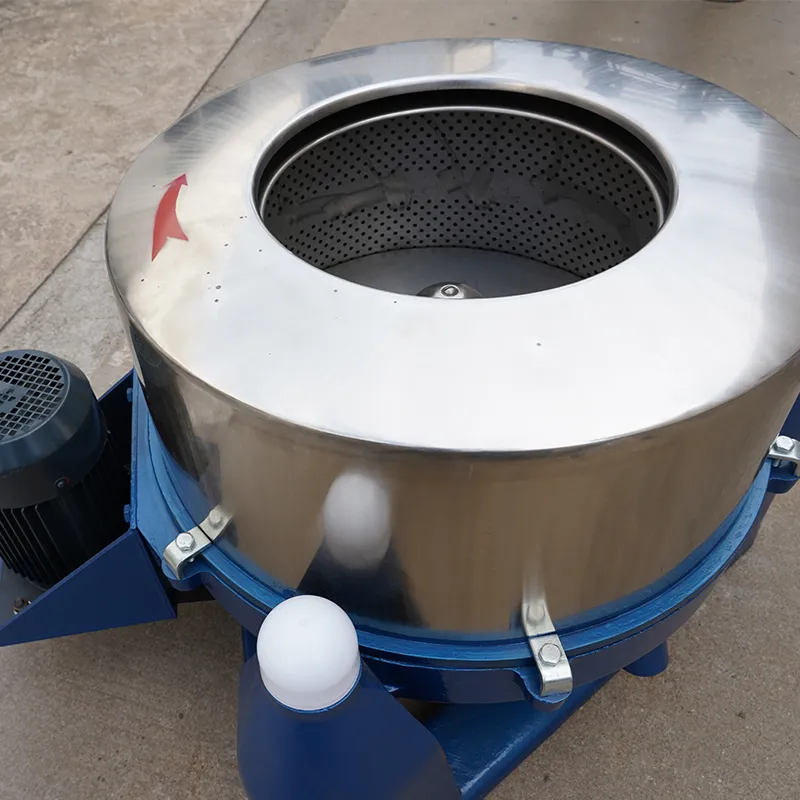
Spin-dry the soaked socks to remove excess liquor and keep the fabric uniformly damp.
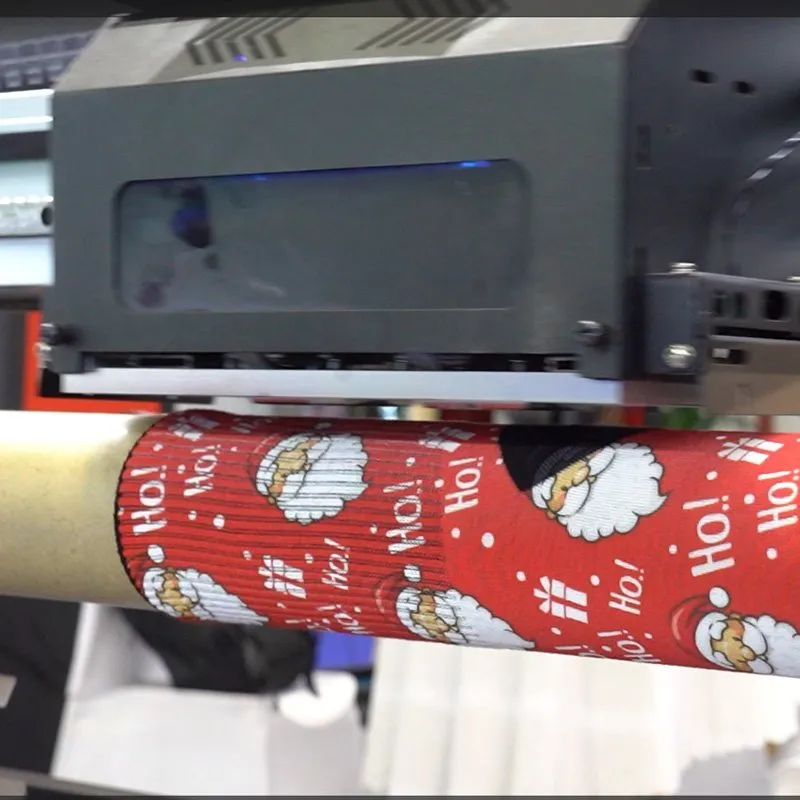
Print with acid ink onto the nylon socks.
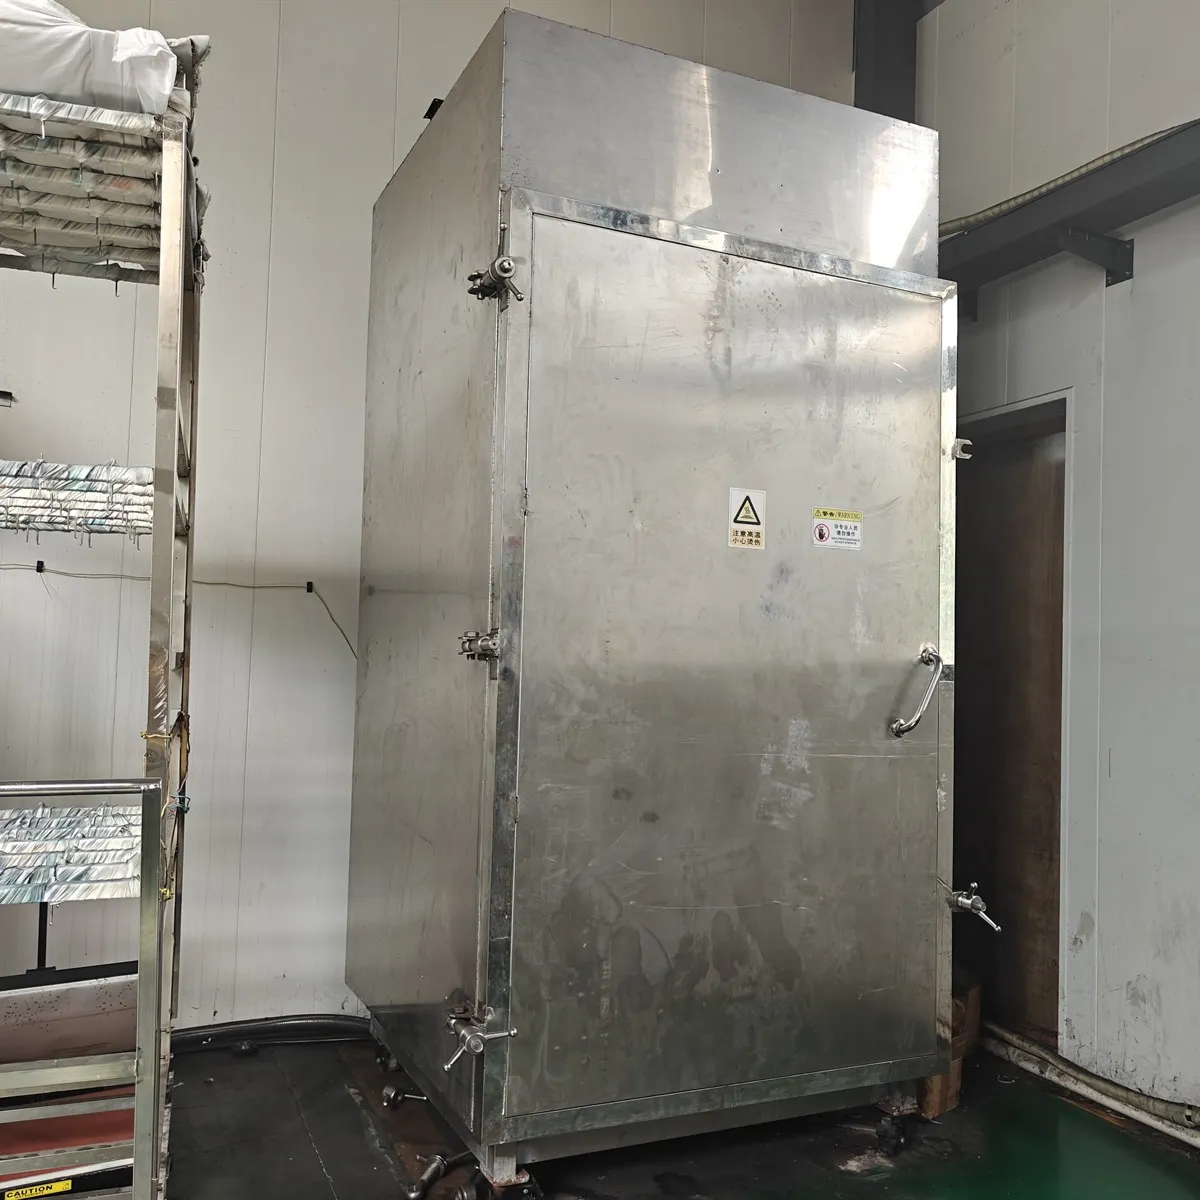
Dry the printed socks to remove surface moisture.
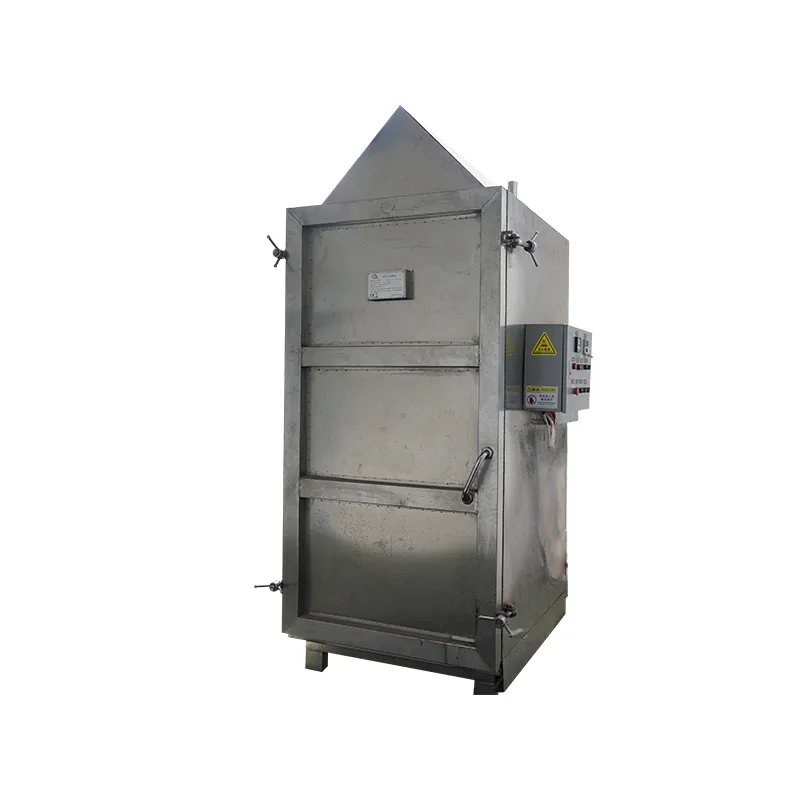
Steam the socks so the acid dye reacts with and bonds to the nylon fiber.
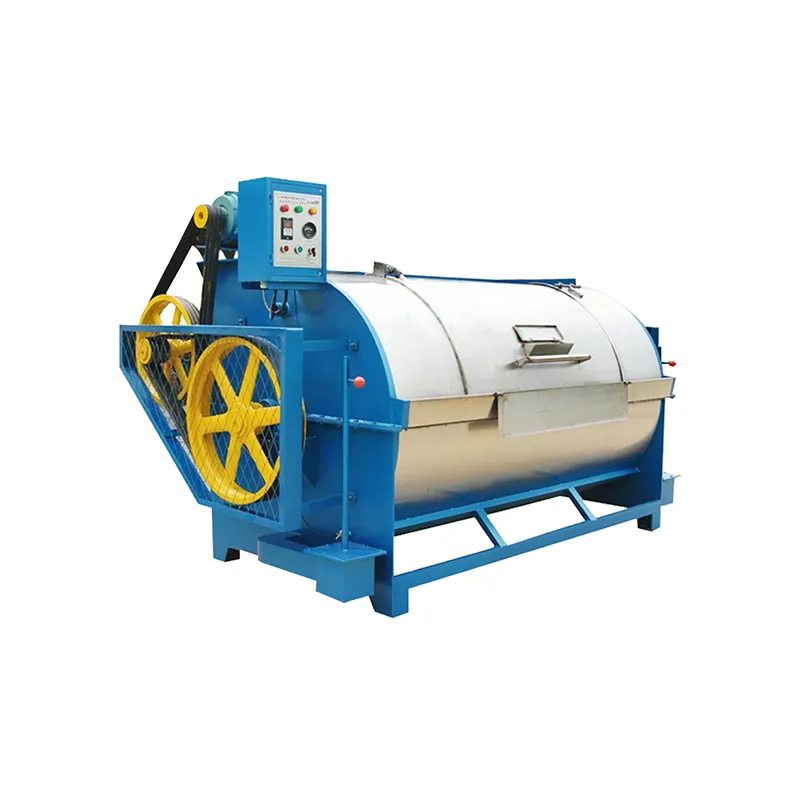
Wash off unfixed dye and residual chemicals from the socks.
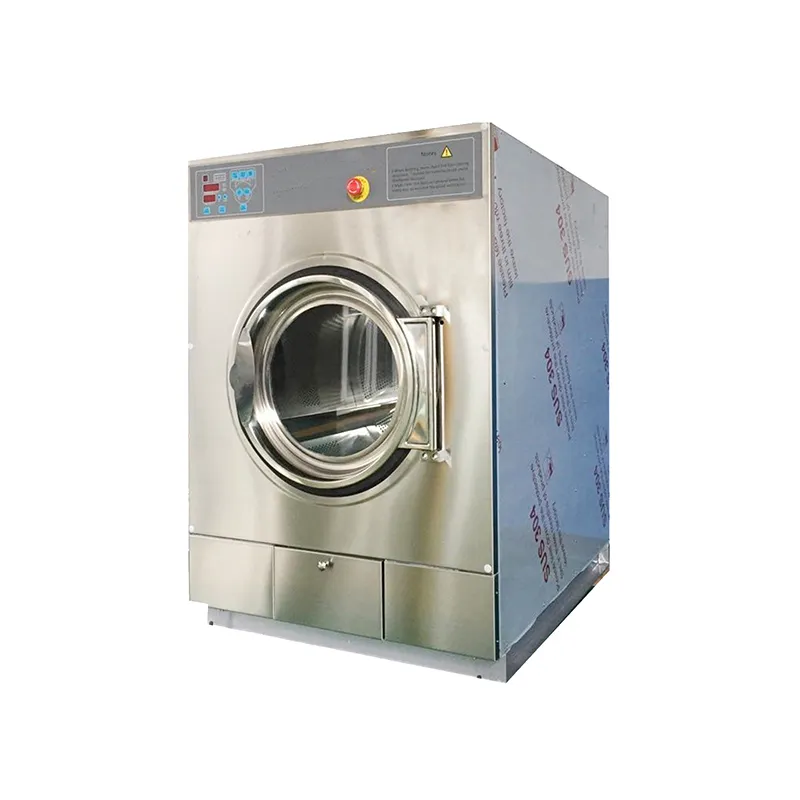
Dry the socks again after washing.
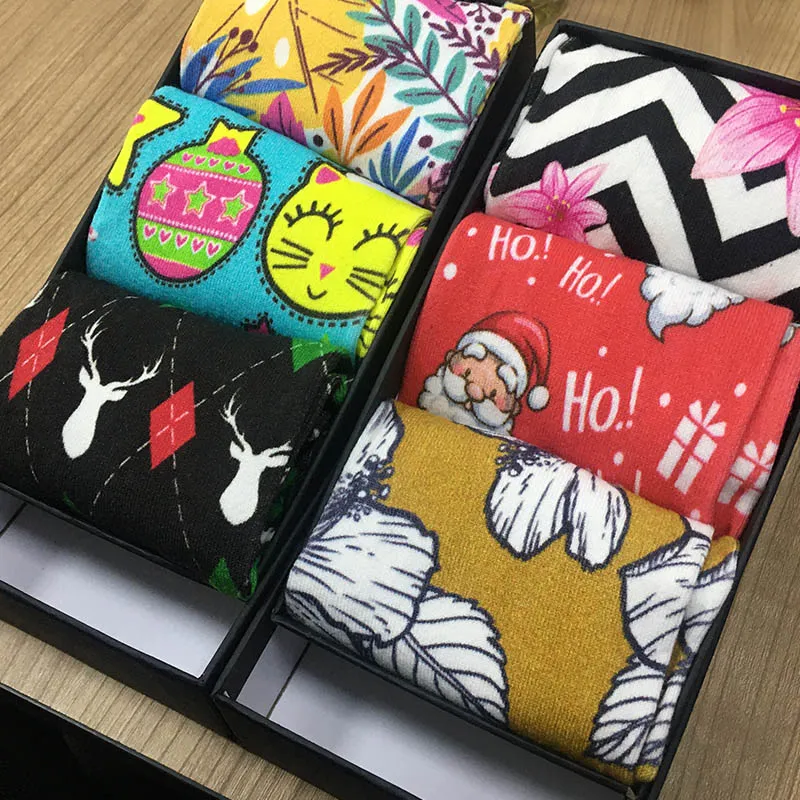
The process is complete; pack the finished nylon socks for delivery.
Taking polyester socks as an example, the following is the complete production process of using a sock printer to print custom polyester socks — from preparing the design file to packing and delivering the finished product.
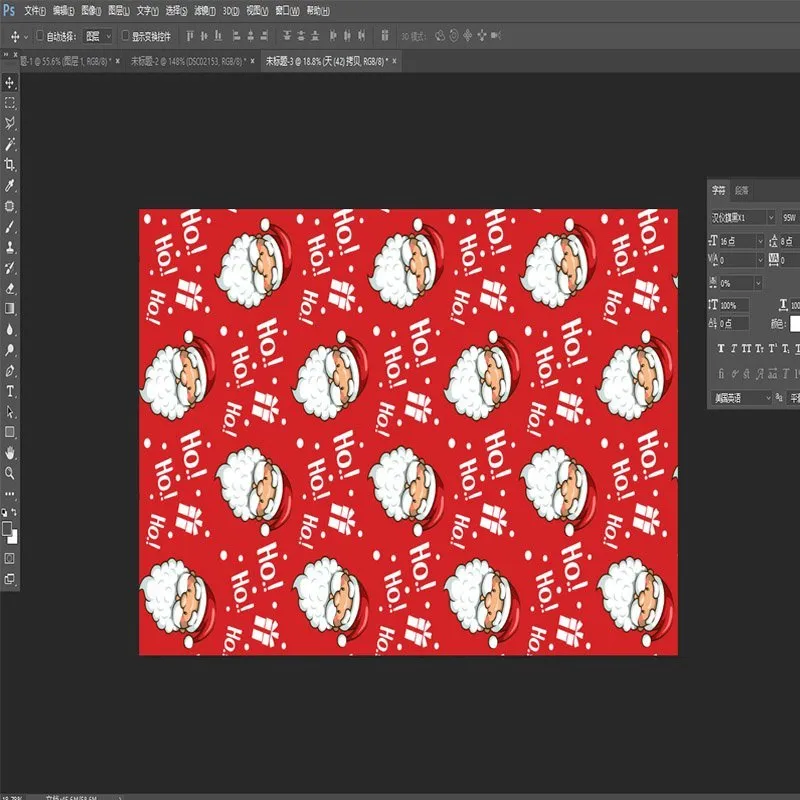
Adjust the personalized image in Photoshop (PS) to the correct sock-printing size, preparing it for the subsequent printing process.
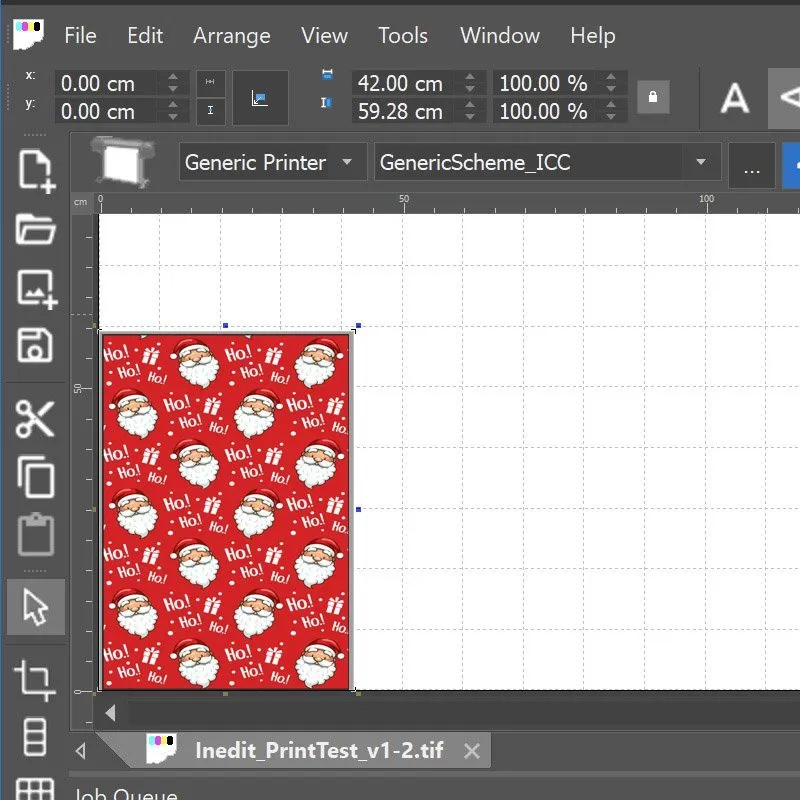
Input the adjusted image into the RIP software and process it to completion for color separation and output preparation.
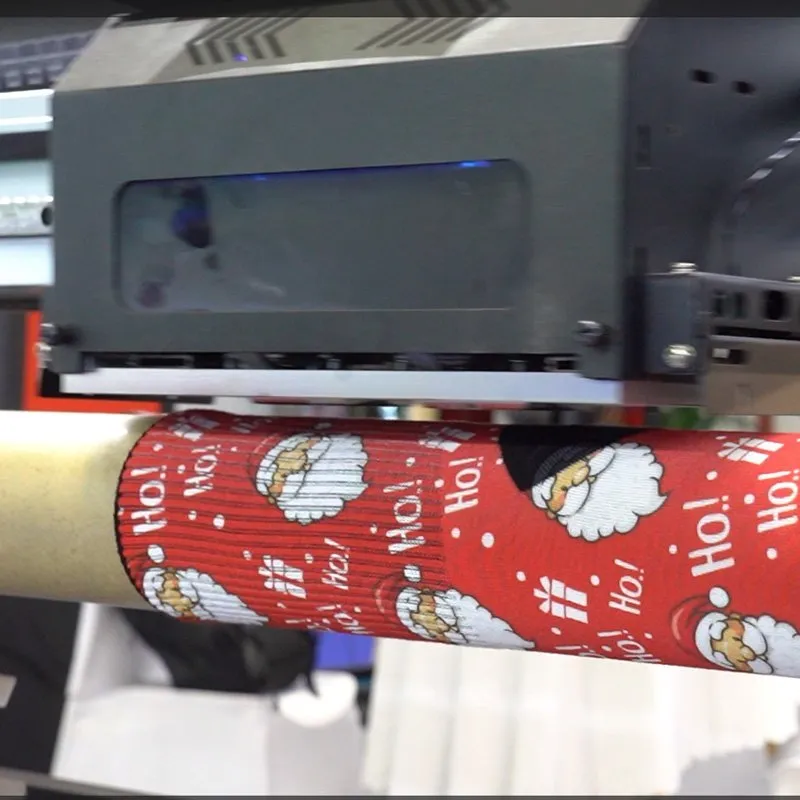
Launch the printing software, open the processed RIP file, and start printing onto the polyester socks.
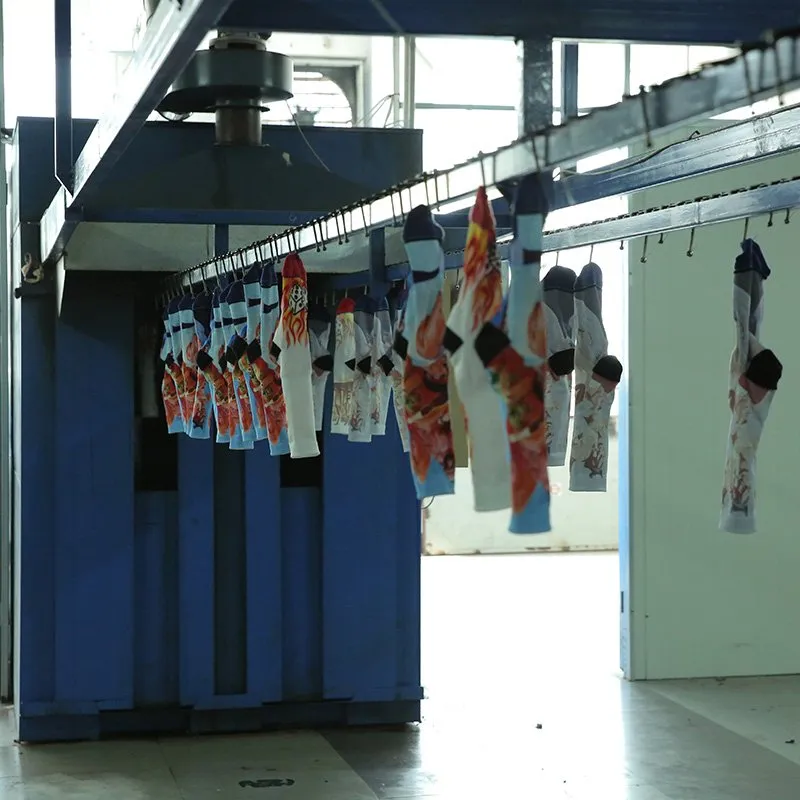
Once the printed socks have been dried in the heating oven, the ink is fully set and the entire process is complete.
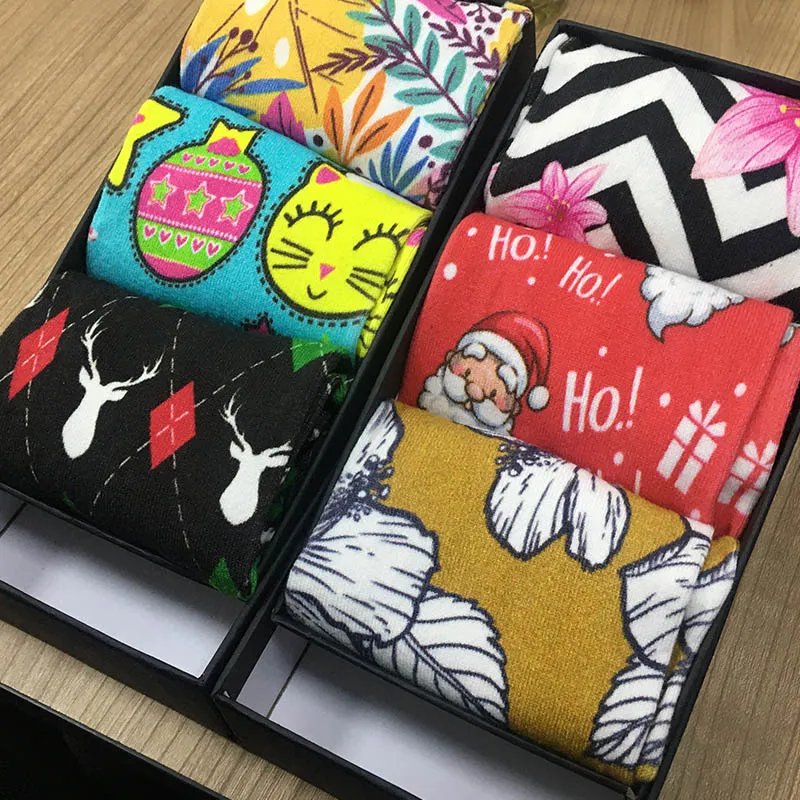
The custom socks are finished and ready to be packed and delivered to the customer.
Contact us today for a free consultation and let our experts help you find the perfect printing solution for your business.